 MCP
/api/mcp route. Two authorization mechanisms are supported:
- OAuth (preferred): MCP clients that support OAuth 2.0 will automatically handle the authorization flow and issue a short lived access token. No API key or manual token management required.
- API key: Any MCP client can authorize using a Sourcebot API key passed as a
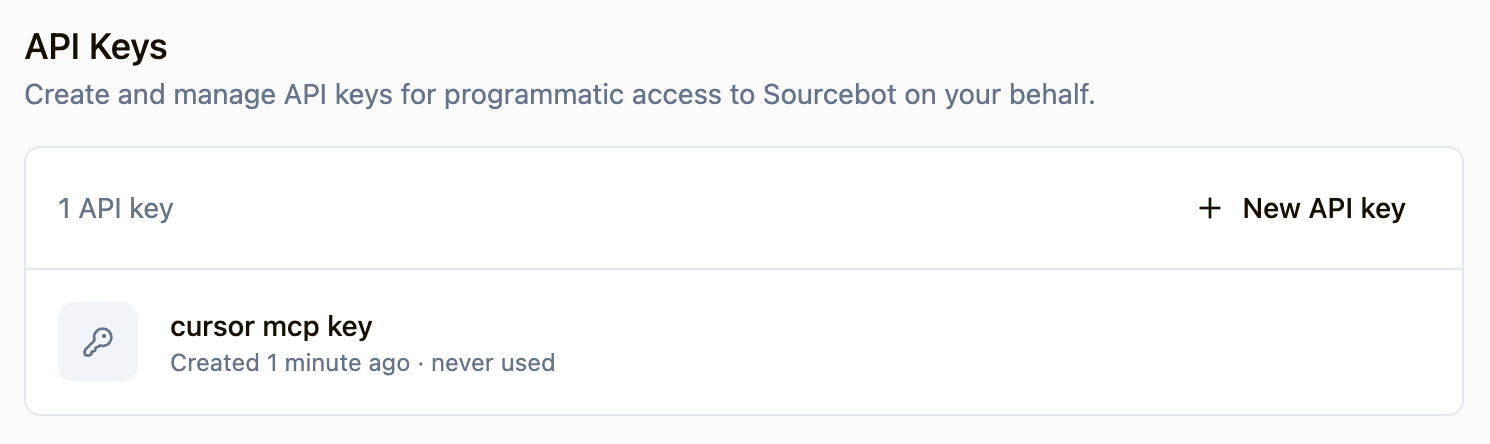
Authorization: Bearer <key>header. Create one in Settings → API Keys.
Note the following about these examples:
- The examples add the MCP server and connect it to Sourcebot’s public deployment at app.sourcebot.dev. Replace the URL with your own Sourcebot deployment as needed.
Claude Code
Claude Code
Claude Code MCP docsRun the following command:Replace
- OAuth
- API Key
https://app.sourcebot.dev with wherever your Sourcebot instance is hosted. Claude Code will automatically handle the OAuth 2.0 authorization flow the first time you connect.Cursor
Cursor
Cursor MCP docsGo to: Replace
Settings -> Cursor Settings -> Tools & MCP -> New MCP ServerPaste the following into your ~/.cursor/mcp.json file:- OAuth
- API Key
https://app.sourcebot.dev with wherever your Sourcebot instance is hosted. Cursor will automatically handle the OAuth 2.0 authorization flow the first time you connect.VS Code
VS Code
VS Code MCP docsAdd the following to your .vscode/mcp.json file:Replace
- OAuth
- API Key
https://app.sourcebot.dev with wherever your Sourcebot instance is hosted. VS Code will automatically handle the OAuth 2.0 authorization flow the first time you connect.Codex
Codex
Codex MCP docs
- OAuth
- API Key
Run the following command:Replace
https://app.sourcebot.dev with wherever your Sourcebot instance is hosted. Codex will automatically detect OAuth support and prompt you to authorize in your browser when you first connect.OpenCode
OpenCode
OpenCode MCP docsAdd the following to your Replace
opencode.jsonc file:- OAuth
- API Key
https://app.sourcebot.dev with wherever your Sourcebot instance is hosted. OpenCode will automatically handle the OAuth 2.0 authorization flow the first time you connect. You can also manually trigger it with:Windsurf
Windsurf
Windsurf MCP docsGo to: Replace
Windsurf Settings -> Cascade -> Add Server -> Add Custom ServerPaste the following into your ~/.codeium/windsurf/mcp_config.json file:- OAuth
- API Key
https://app.sourcebot.dev with wherever your Sourcebot instance is hosted. Windsurf will automatically handle the OAuth 2.0 authorization flow the first time you connect.Authorization
The Sourcebot MCP server supports two authorization methods: OAuth and API keys. Regardless of which method you use, all MCP requests are scoped to the associated Sourcebot user and inherit the user’s role and permissions. When permission syncing is configured, this includes repository permissions - the MCP server will only surface results from repositories the user has access to. With the MCP Gateway, both methods can also call the user’s allowed connector tools, such as Linear.OAuth 2.0
Sourcebot implements an OAuth 2.0 authorization server with support for dynamic client registration (RFC 7591). This means MCP clients can register themselves automatically without any manual setup. Just point your client at the MCP endpoint and it will handle the full authorization flow, prompting you to log in and approve access in your browser the first time you connect. No API key or manual token management is required. Once authorized, Sourcebot issues a short-lived access token (valid for 1 hour) and a refresh token (valid for 90 days). The MCP client handles token refresh automatically, so you stay connected without needing to re-authorize.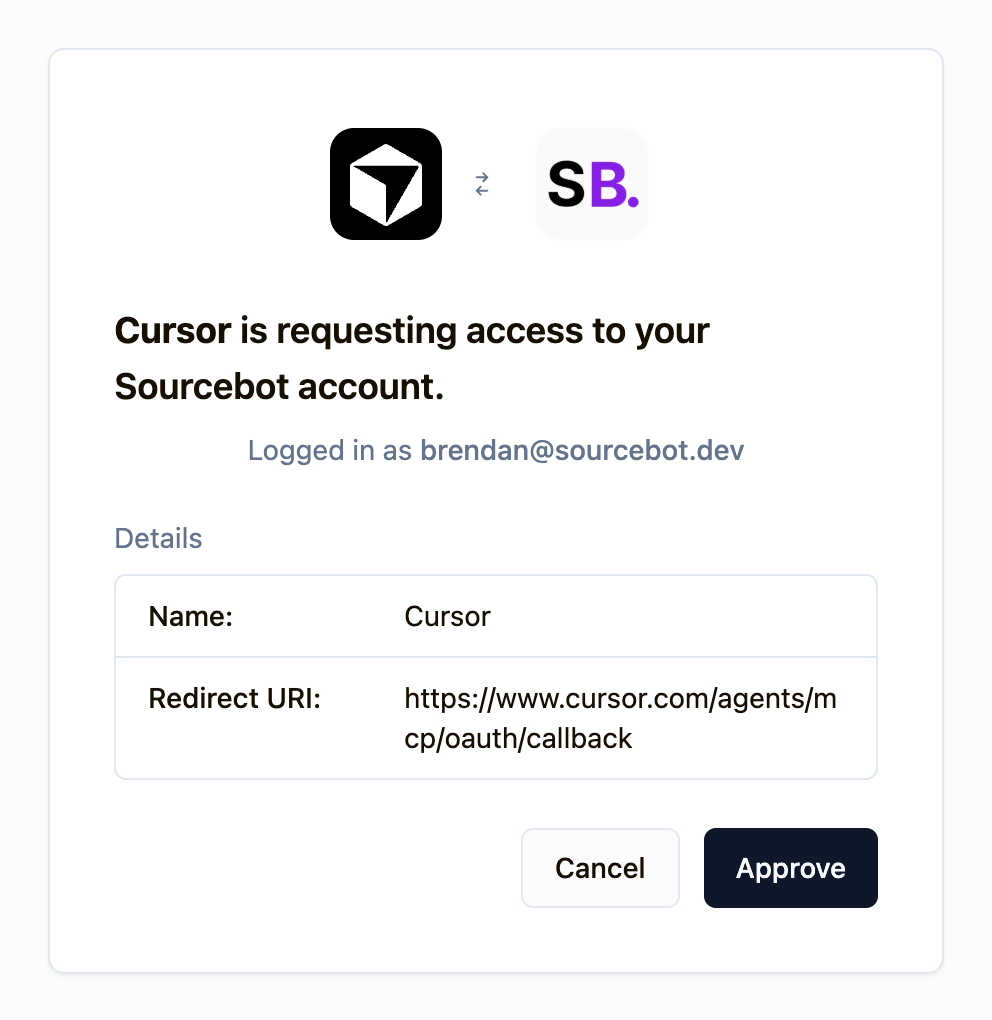
API Key (Bearer token)
API keys provide a simpler alternative to OAuth that works with any MCP client. Each key is scoped to the user who created it and inherits their permissions. To create one, go to Settings → API Keys and click New API key. Pass the key as anAuthorization: Bearer <key> header when connecting to the MCP server.